Monday, 17 September 2012

Pirate Bag & Treasure Map


 I was under strict instructions for this 'custom' order. He wanted his own bag. For when he did 'pirate things' (he's quite the urban pirate, wouldn't you agree?) like looking for treasure. He needed a space to put his sunglasses because "the sun is very bright on the ocean" and he needed a map. Oh, and NO FLAP, under any circumstances. He wanted it "straight across" for quick, easy access.
"And wrapped, Mum. I want it wrapped please."
So yesterday, during rest time, I set to work.


Thankfully, Sarah Jane's Out to Sea is just perfect for all of the above. If Field Study has become my renewer of inspiration for quilting, this is my motivator for more kids clothes and gifts.


I cut around a single map print from the line, added a ribbon for tying, and backed it with calico.


Then I made an 8x9" lined pocket (I left the wrong seam open for turning the right way out. In case you're following these as instructions, leave the top of the pocket open, turn the right way out and top stitch along the top of the pocket. Then add to the inside, or outside, panel.)


Then I cut a 3" strip, the width of the fabric from these adorable anchors and my stripey lining. (I'm using Racing Stripes from Children at Play) I sewed down each length, turned the right way out, and top-stitched each side.


Here's where I forgot to use my camera because I was half chasing Tully for a good size, half searching online for a good tutorial, and half just trying to guess as I went based on other bag patterns I've followed. I ended up deciding to use 13" squares for the bag body.
I sewed right sides of the bag fabric, then the lining, together. Then, folded each bottom corner seam flat together to create this triangle. I used the width of the strap to determine where to sew across to create my '3D' bag.


Then I placed the strap inside the lining, making sure the lining side of the strap was facing the bag, and slipped the outside bag into the lining, right sides together.


I sewed around the top, leaving a 2" gap to turn the right way out, pressed and top-stitched around the top of the bag, snipped the threads...


And Viola! One happy Pirate. :)


And FYI, I found this tutorial by mmmcrafts really helpful for getting my head around the bottom corners!
This tutorial is for personal use only, thank you!

Wednesday, 12 September 2012

Lessons from the Pinwheel


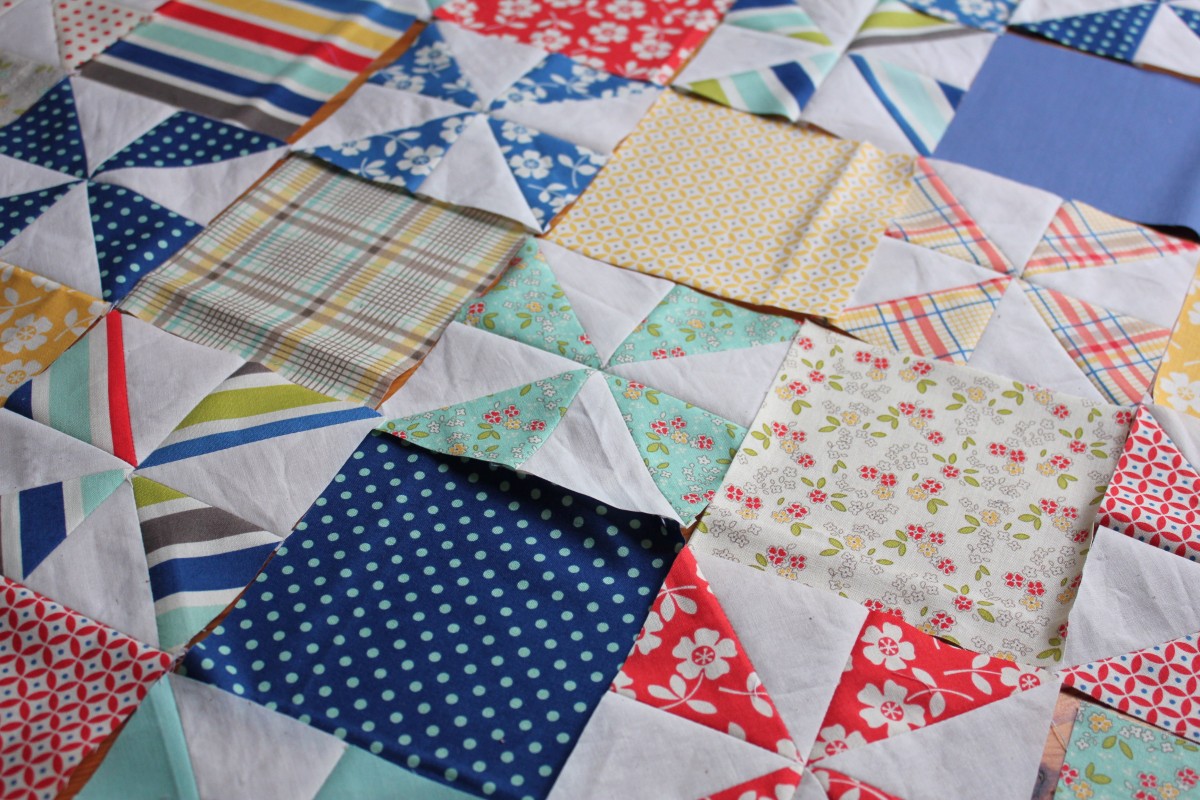
I've so enjoyed playing with pinwheels this week! The slow, precise cutting and sewing and ironing and sewing, without a time limit, feels so good. As a pinwheel newbie, I thought I'd share with you some of the things I picked up along the way.


1. Chain piecing is super fast and fun. I picked this method up from my lovely sewing buddy Helen from Corduroy Corner. Simply sew down both sides on the squares, making a chain like this one, then snip, and go down the last 2 sides.


2. Two 4.5" squares, turned into pinwheels (or any pattern made from the resulting 4 little squares) makes a 5" square finished. What!!? Tim has explained the maths to me (something about surface area and square inches) but it still blows my mind. I was expecting 6 or 7 inch pinwheels.


3. Always check bobbin thread before chain piecing your entire lot of pinwheels. Especially when it's the last seam! Oh the frustration of realising you haven't just finished 20 quilt blocks!


4. A new roller cutter blade is just the 'spoonful of sugar' needed for trimming all those pinwheels. Bliss!


5. And after all that cutting and pressing and piecing, you will still only have the smallest quilt top. Repeat above steps. And even then, consider throwing in a good dose of 5" squares.


6. I like my pinwheels turned to make diamonds. I like the smaller, more saturated prints the most. I like using prints from all the same line (This one is from the fat quarter pack of Seaside by Riley Blake that I won from Maureen's blog. Thank you Maureen!). I think it's my first time I've stuck to the one line! And it's meant I've enjoyed the time thinking about line (the other kind!) and white space and design. Though thinking about colour definitely is fun too!


Thursday, 6 September 2012

A skirt in sleep time.


I promised Tim I would have a week off this week. I haven't really stopped since way before the market and my brain is feeling a little fried. So I'm limiting my online time to an hour at lunch time (no checking my phone the moment I wake up!), going to bed early, and spending more time outside. I can already start to feel the life coming back. :)


I made this skirt yesterday in rest time and wanted to show it to you before my hour is up!
A while ago I made this long strip of patchwork with skirts in mind. But those of you who know me will know I don't often work with pastels. And it soon got shelved while I moved on to richer colours.


But yesterday I felt like a project I could finish in rest time. I used the reversible skirt tutorial by Whimsy Couture and changed it a little to fit my new Map print by Sarah Jane.


I fussy cut a line of anchors (gosh I love these!) and added them as a border.


Then sewed the 2 sides together, unpicking it about 100 times due to silly mistakes, and finally, voila!


A reversible skirt, size 3 yrs. Quite sweet, I think!
It now awaits the next verdict: in the shop or gifted?


Tuesday, 4 September 2012

Sparkle


Field Study is making me happy. 


I have even been tempted to write a song. I have been stitching faster, staying up later.


 I had been so uninspired by the colours I had chosen for my Modern Medallion quilt. I was happy, but that was back in Autumn, where colours are supposed to be rich and broody. In Spring, they should sparkle.


As soon as my package arrived, I knew I should add some to my little pile of colours. I was so please to have purple that wasn't maroon, and aqua that wasn't grey.

 And they do sparkle, don't you think?


Ooh! And a winner! Congratulations #53, Jennet! I will email you shortly! Thank you so much to everyone who entered my giveaway. Every time I got a message, I thought, "Oh, I hope you win!"
Jodi. xx

Saturday, 1 September 2012

A Birthday Giveaway and a Pinny Launch!


A year ago today, with great trepidation, I opened my Tickle & Hide Etsy shop! For someone who's always liked to flitter between creative interests, never committing to one, opening a shop was a bit like getting married! I felt like I had a big fat sign on my head saying, "Hello? Will you like me?" And I was so incredibly thankful for dear friends who brought around balloons and flowers and champaigne that day. Their gifts spoke right to me, "You are not silly! And you can do this!"


One year later, I'm still here. Still dreaming about quilts and pinnies in my sleep, still getting those exciting notifications that I've sold another favourite dress and thinking, "Oh, you love it too!" I've been encouraged in the true sense of the word - filled with courage, by new friends from across the sea, my best friend in my own home and Tully begging me to let him wear his rocket shorts to bed. :)


So I wanted to do something to celebrate, actually, a few things. Can I share them with you?


Firstly, I'm having a giveaway! These photos are of a little activity bag put together by me and old and new friends. It includes one of my signature drawstring quilts, these cuter than cute foam "paper" dolls (I've been having so much fun with these, can you tell?!)...


a Surprise Puzzle, sponsored by my good friends over at Schloss, makers of amazing wooden toys...


And this funky Russian couple from Monkeys in the Kitchen (the two on the right), Igor and Sasha! (Tully snatched Capt'n Jack the second he emerged from the bag and I didn't have the heart to tell him it was for a giveaway! ;))


This activity bag is perfect for taking to restaurants, church, old Aunt Maud's...all the places you wish you had something to engage them so that you could have long conversations, or child 'unfriendly' places where they need to sit still way too long.


To enter:
  • Leave a comment under this post! Maybe tell me what you would add to it? 
  • Followers of my blog or Facebook page get an extra entry. Leave a second comment to say so.
  • For another entry, share this giveaway with your friends! Then come back and leave another comment to let me know.
  • And for 2 extra entries, go say thank you to Schloss and Monkeys in the Kitchen by liking them on Facebook, then come back and tell me, one for each. 

Wow! 5 chances! International entries welcome.
Make sure I have a way of contacting you! Either through your google account or leaving your email address in your entry. Thanks! I'll draw the winner Tuesday 8:30pm, Sydney time.


Then, pop over to my Facebook Page for the launch of my new line of pinafores, "Paper Dolls". My friend Anneliese and I have been working tirelessly to create a collection of pinnies that are both art and functional. I'm sure you'll love Anneliese's Paper Doll illustrations! They evoke for me, memories of playing with paper dolls as a child, a fun feeling I still get, now having a little girl!
As an extra thank you, I'm offering 20% off everything in the shop for 24 hours till 8pm Sunday night Sydney time, with the code 'birthday20'. (There are things for boys there too!)

Ok! Thank you again dear friends! Enter away!
Jodi. xxx