Monday, 16 March 2015

Red Sky at Night - Broken Dishes and Whirlpool


I had the special treat this week of borrowing the wonderful Quilt History book, "The Fabric of Society" by Annette Gero, which focuses on Australian Quilt history. I was surprised to discover that there were almost no 'block' quilts in the book. Australian quilts in the 19th century, followed British fashions at the time, which were mostly medallion quilts, hexagon quilts, or applique. I thought this series would take us around the world, but interestingly, it appears these creative, beautiful blocks are unique to America's history. The book is full of interesting stories, though, and if you can find it in your library, I recommend it.


Today's blocks are older even than Colonial Australia and are made from half-square triangles, the quilt block staple. I've put these ones together, partly so we can condense our Quilt-Along to fit within the year, and partly as a follow-on from last week's Peace and Plenty. It fascinates me the wealth of designs derived from the humble triangle and how different a feel each of these blocks evoke.

The Broken Dishes block is one of the oldest known traditional quilt blocks. I've always wondered at this name, assuming it must have come the regular everyday stuff of pioneer life, though I thought this an unusual choice for a name, and couldn't quite make the connection with the inspiration. But on further research, I discovered that broken dishes were a traditional grave site decoration used by African American slaves. When I think of broken dishes in terms of mosaics and art, I can see the connection, can't you?

From the book 101 Patchwork Patterns by Ruby McKim, 1931
I love the star that comes through in this block when it stands alone (rather than repeated), depending on how your eye focuses on the lines. But I do find it boxy and jarring, compared to the flowing shapes of the Whirlpool block, which is almost identical to Peace and Plenty, except for the white diamond in the centre instead of the pinwheel, yet it still looks unique.

TRIANGLE BLOCKS TUTORIAL

You will need:

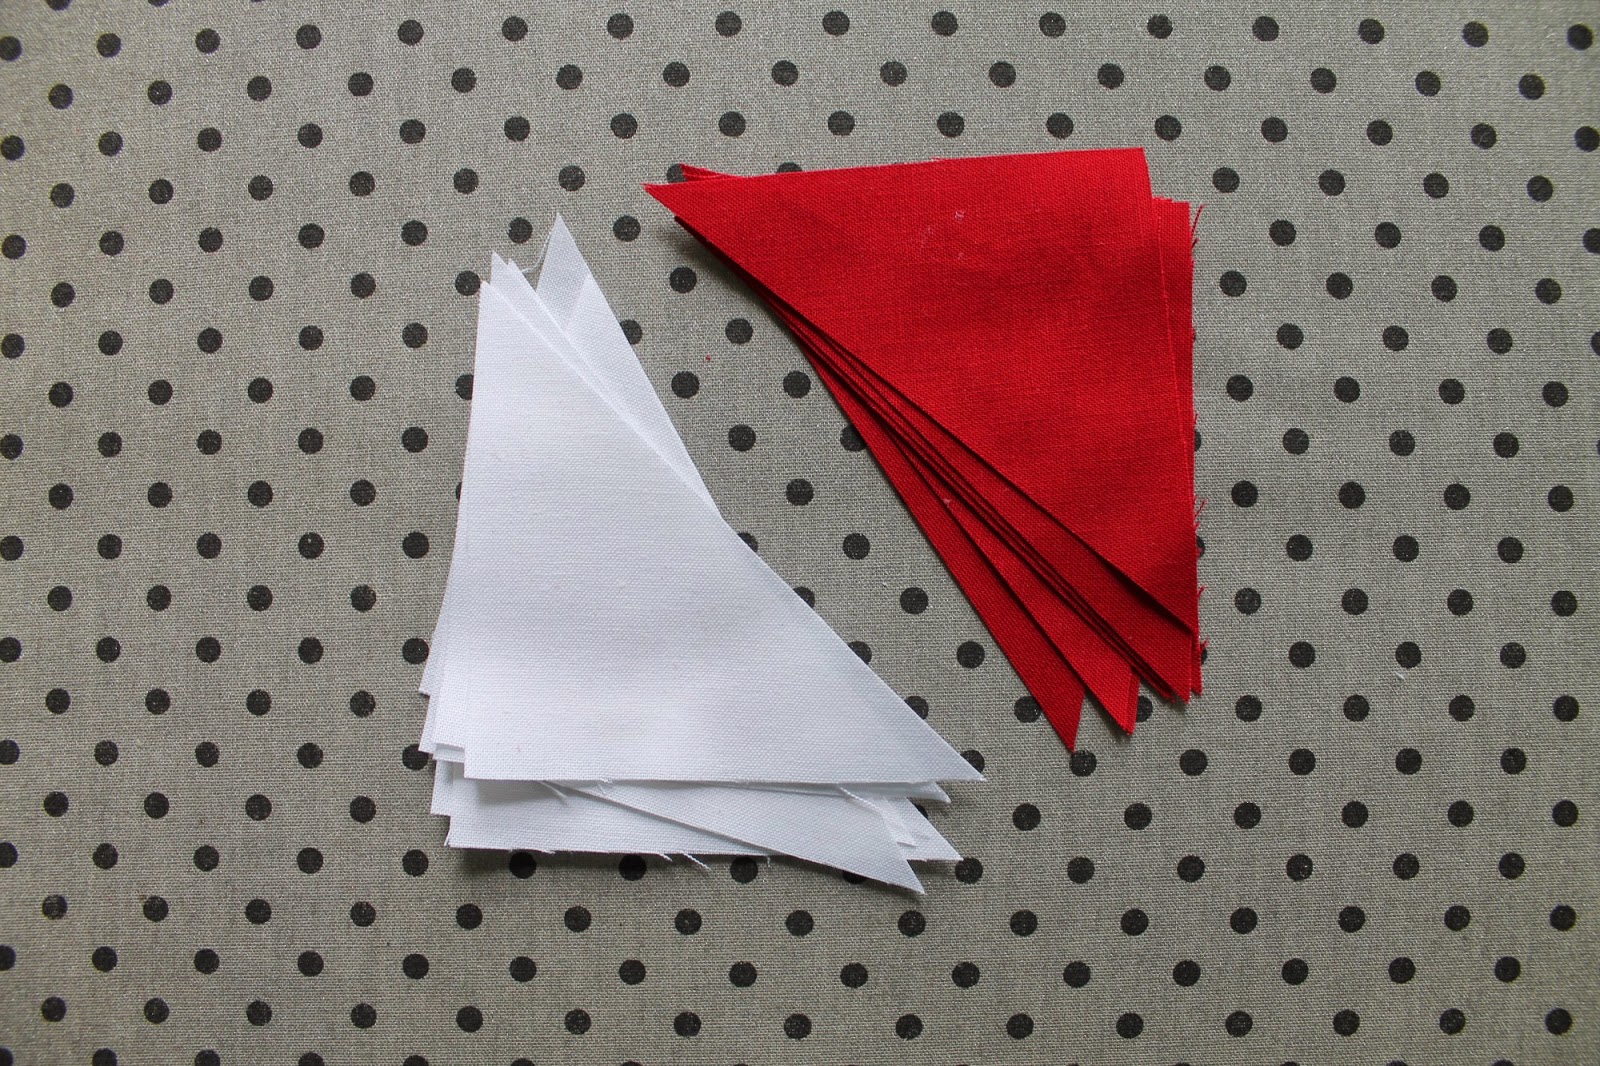
Red: Eight 4" squares for each block, cut in half into triangles

White: Eight 4" squares for each block, cut in half into triangles

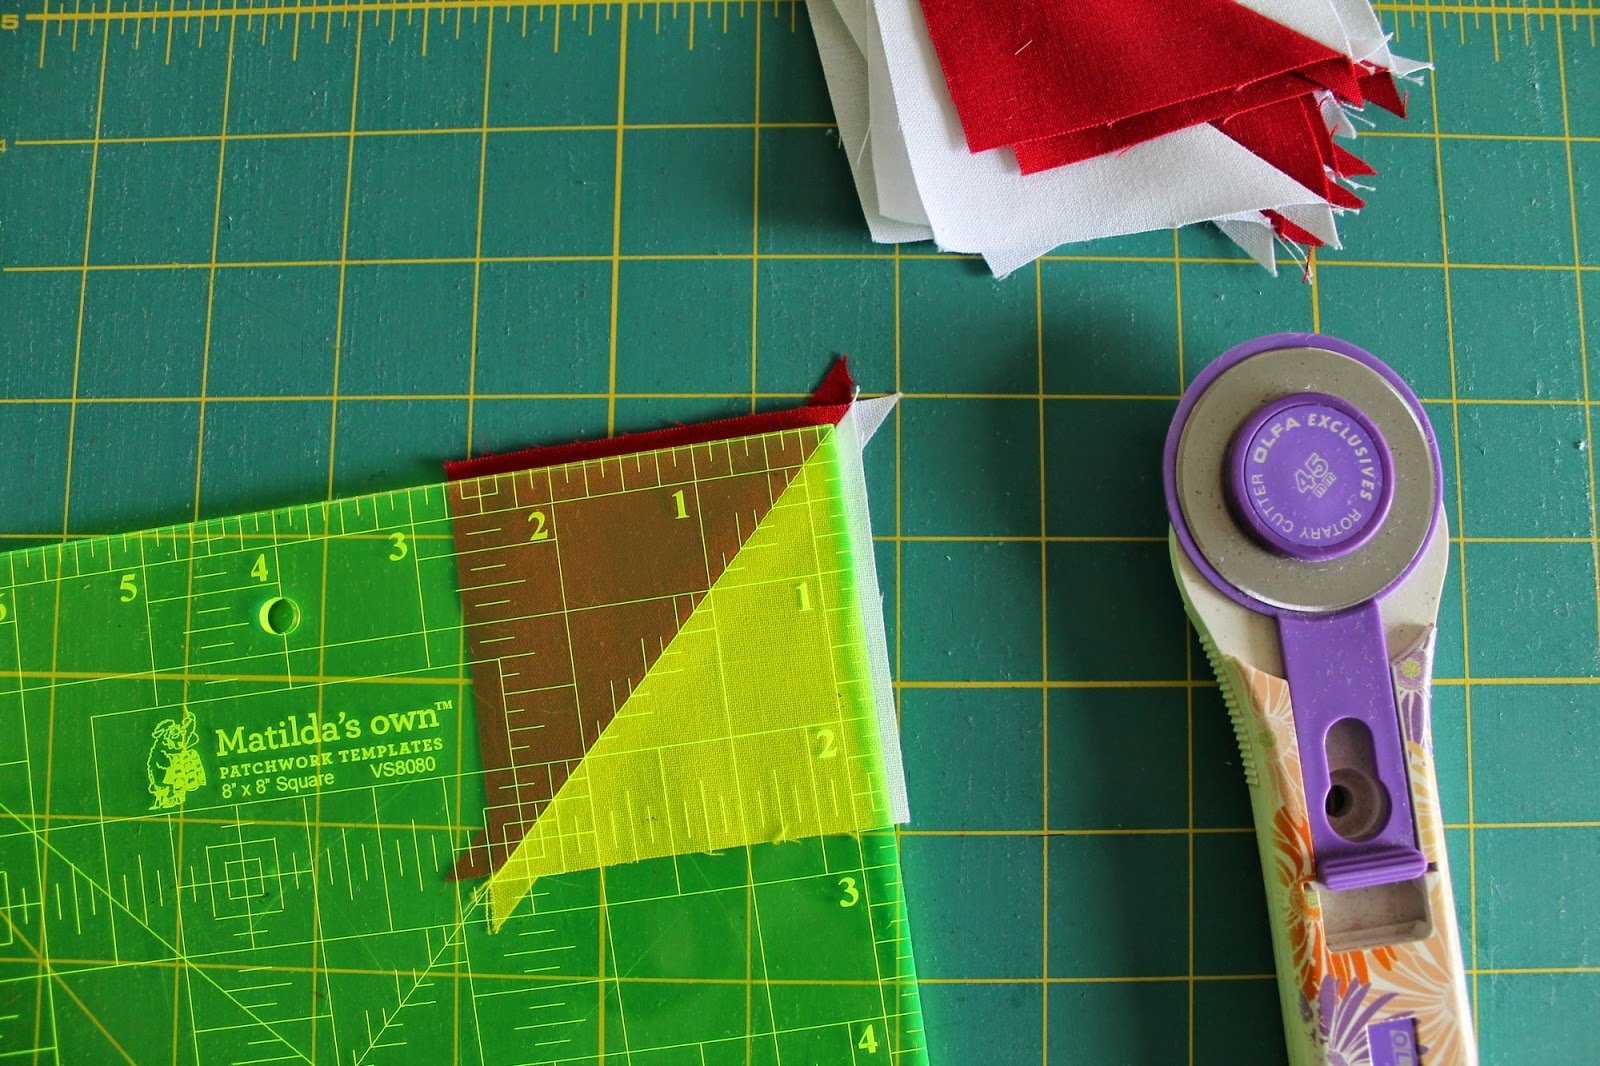
1. Sew the red triangles to the white triangles, press seams open or towards the red, and trim to 3.5"


2. Arrange your quilt blocks as shown below.
Both blocks are a 'Four Patch' of a 'Four Patch'. If you look in the bottom right quarter of the Whirlpool block, you'll see a larger red triangle under a parallelogram. That part of the block is repeated, but turned once around the quilt block.


The Broken Dishes block is arranged in 4 diamonds, with alternate colours facing inward. 


3. For each block, sew squares together in pairs, press and sew those pairs together into squares. Press and sew the larger squares together, and then then the final two pieces together.


Today's tutorial was basic, due to an onslaught of children arriving at my house today while I was making, delightfully leading to an abundance of questions about sewing and quilts and a beautiful fascination with these lines and shapes. So I had far less photos that I remember taking, but still a feeling of deep satisfaction that I'm passing on the quilting bug! I wonder why these blocks and others didn't make it into many Australian and British quilts? I think they are so simple and clever and beautiful. Maybe I'll learn more along the way. Meanwhile, if you need to go back to the Peace and Plenty Tutorial, it has more detail about how I prepare the blocks for sewing together.


Monday, 9 March 2015

Red Sky at Night - Peace and Plenty


This week my car broke down. And my washing machine died. If you're a mum, you'll understand which is more devastating. Last weekend, I sat and sewed with a friend whose life hasn't taken the normal path of marriage and a family. I had coffee with a mother of three children in wheelchairs, talking about her longing for a custom built house. And this week I've written probably 200 emails to people who have asked for my address so they can send a flower to Rachel and her family. I've wondered many, many times, what I can say about the block "Peace and Plenty"?

The other night I had a dream that I put my kids in school. I homeschool my 6 year old, and my four year old will be school aged next year. In my dream, I breathed this great sigh of relief and sewed and sewed and sewed. (The baby must have been asleep or something!) I often think, if I could have a whole day to sew, I would catch up on this crazy list, and have a clean slate. I'd be at peace. And then I get a whole day, and I think, "If I could just have a weekend..." But I've had those before too. I've had three days a week in a shop in town before...

The phrase "Peace and Plenty", as far as I can gather, was first used by the Scottish Clan of Cavanaugh in the 12th century as their motto. It's been used since to name artworks, plays, pubs, and books about financial success in middle age.

The phrase, long used as a kind of ideal or blessing, was first given as the name for this block by designers at Farm Journal, the predecessor for The Farmers Wife publication in the early 1900s. And I especially love this block made into a whole quilt. The way the large and small triangles play with each other is much more interesting, a bit more messy, that an ordinary half-square-triangle, or pinwheel quilt. 

The little bit of trivia that has stuck with me this week about the term "Peace and Plenty" is a quote from Shakespeare's play Cymbeline, and this week especially, it seems to fit more with my experience of life. 


Trust Shakespeare to play with the words, to twist it. But I still like it, don't you? I have such a strong idea of what Peace and Plenty would look like in my life. But even when I get it, it doesn't evoke gratitude or courage. It's challenged me this week to keep saying the phrase, "Right now..." 
"Right now, I get to sew. Right now, my children are happy. Right now, 200 women around the world are stitching flowers for a grieving, desperately hoping mother." 
There's a big part of me that still wishes I could step into an alternate universe where machine's don't break and children aren't born with disabilities. But wiling away my time daydreaming about that seems cowardly compared to facing up to this universe with hope in the moment.


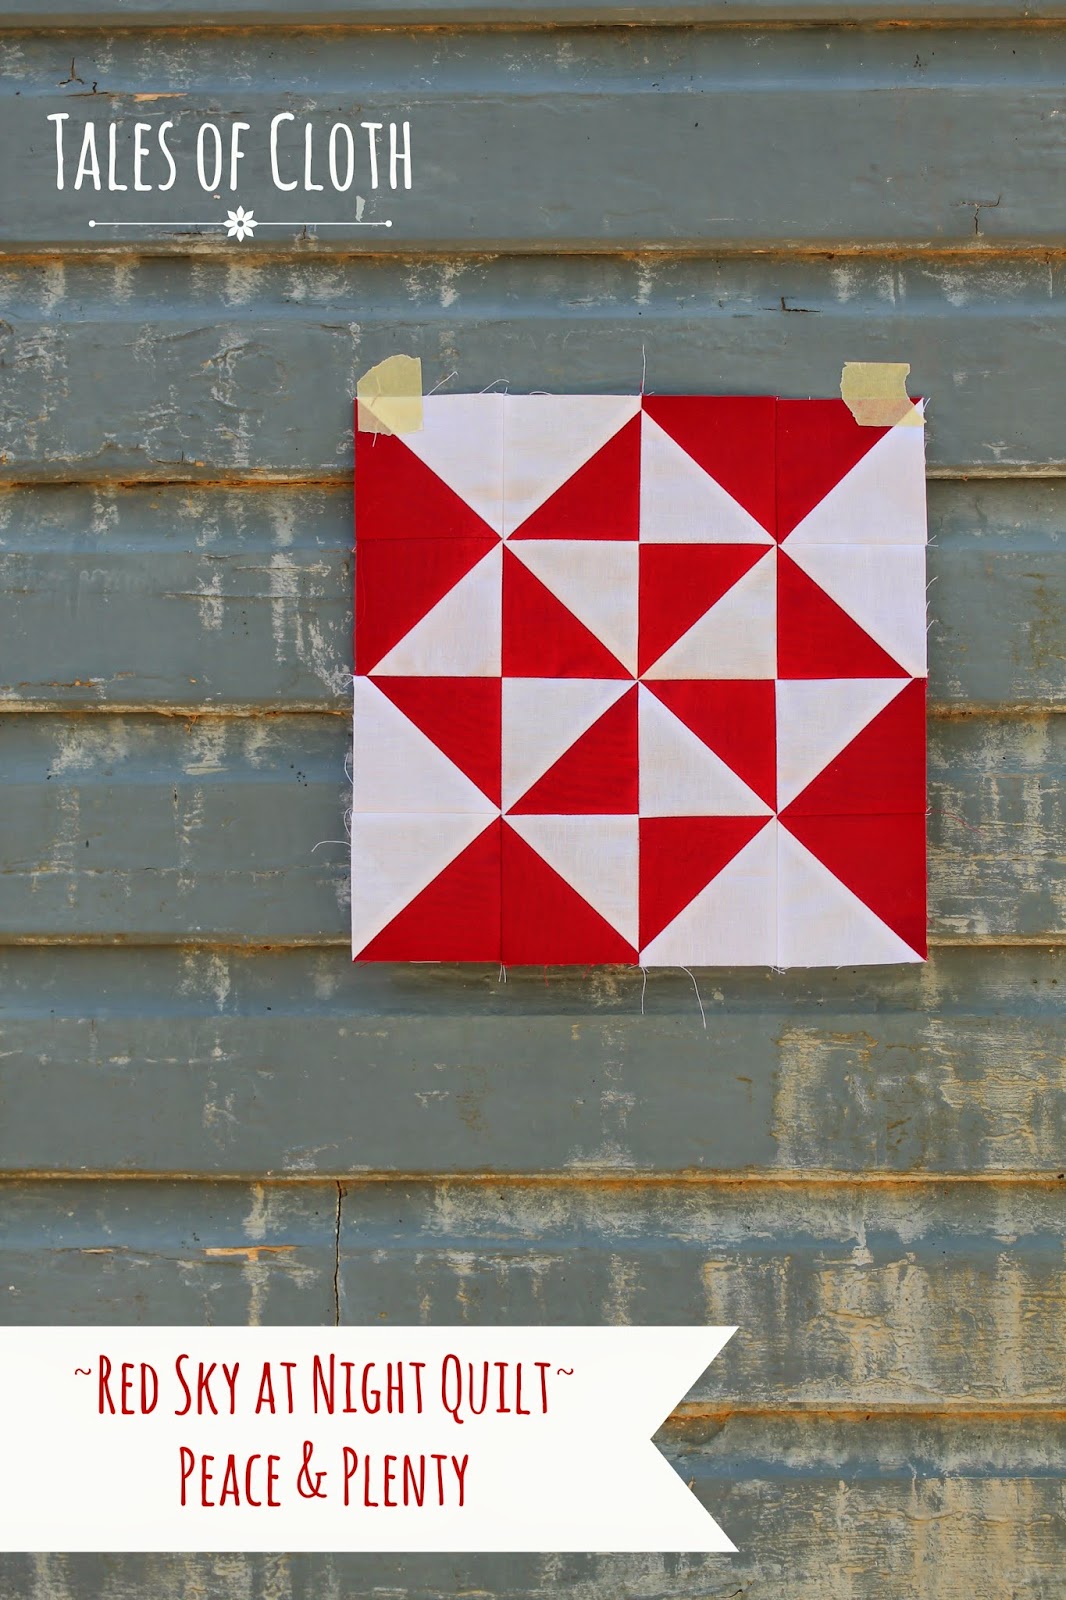
PEACE AND PLENTY BLOCK TUTORIAL

For the next two weeks, we're going to sew three blocks, made completely of 3.5" half square triangles. It gives us a chance to get ahead a little, so we can complete the blocks by the end of the year. I also think it's fun seeing the myriad of ways triangles can create different designs. So start cutting/pressing/trimming those triangles! If you want, you can triple this week's cutting instructions and use the leftovers for next week.

You will need:

Red: Eight 4" squares cut in half to make triangles.

White: Eight 4"  squares cut in half to make triangles.

1. Sew all your red triangles to your white triangles and trim to 3.5"
 

2. I'll show you the layout in steps through pictures. First the border:


 3. Then lay out a pinwheel in the middle.


4. Next, we're going to chain piece. (sew all the squares together in one sitting.) If that worries you, feel free to sew pair by pair, or rows at a time.
Lay your first square from your second column over your first square. Work like this down the two rows.


5. Now, keeping note of white side your seams are on (the right hand side - I always do this bit with my left hand so that the seam is facing out), put your first pile on the one below, all the way down, and then on top of the next row of squares.


 6. Place the pile next to you at the machine and sew them together, on pair after the other.


7. Snip the blocks apart, press the seams open and lay out again.


7. Sew together in squares, press and sew those squares together. Press and sew the final seam.


I don't own my own home, have superanuation, or even a quiet three hours to write this blog post. (Finlay's pulled herself up to my chair and is screeching at me as I write.) But I'm learning that Peace and Plenty come with gratitude, not the other way around. 

Jodi. xx

Thursday, 5 March 2015

Send Rachel Flowers - a hexie tutorial


I'd been checking Rachel's blog all weekend to see if there was any news about baby Eleni's arrival. Like many of you, I have been following Stitched in Color for years, and knew of Rachel's longing to have more children, her waiting for surgery to make it possible, waiting to fall pregnant, and the oh, so bitter sweet news of discovering she was, but then losing a twin. So when I read yesterday morning, her blog post about Eleni's arrival, the complications, the unknown future, I was heartbroken. And when there are no words, all I can do is stitch.

One of my dearest friends, Lucy, was staying at my house over the weekend, and making hexie flowers for her neice. As I was sitting on my sofa, reading Rachel's news, all I could think about were those flowers. I wanted to send her flowers.

I put a post on Instagram, inviting you all to help, and I have been so very grateful for the response. Because many flowers will travel to my home in Australia for me to make a quilt for Rachel and her family, I thought I would write a little tutorial of how I put my flowers together, in a way that will hopefully be quick, and cheap to post. And I hope it will answer any questions I've been asked as well.


I'm using 1" hexagons. That is, one edge of the hexie measures one inch. These are the perfect size for 2.5" squares, if you have scraps of those lying around. I cut my hexies out of scrap cardboard, using my Accuquilt, but you can download a template to print and cut out here (the 1" size is on the last page) or buy them ready cut from your local quilt shop. My friend Lucy has been using ordinary paper for hers, (and they used to use old newspaper scraps in the old days!) and she says that's been working fine for her.


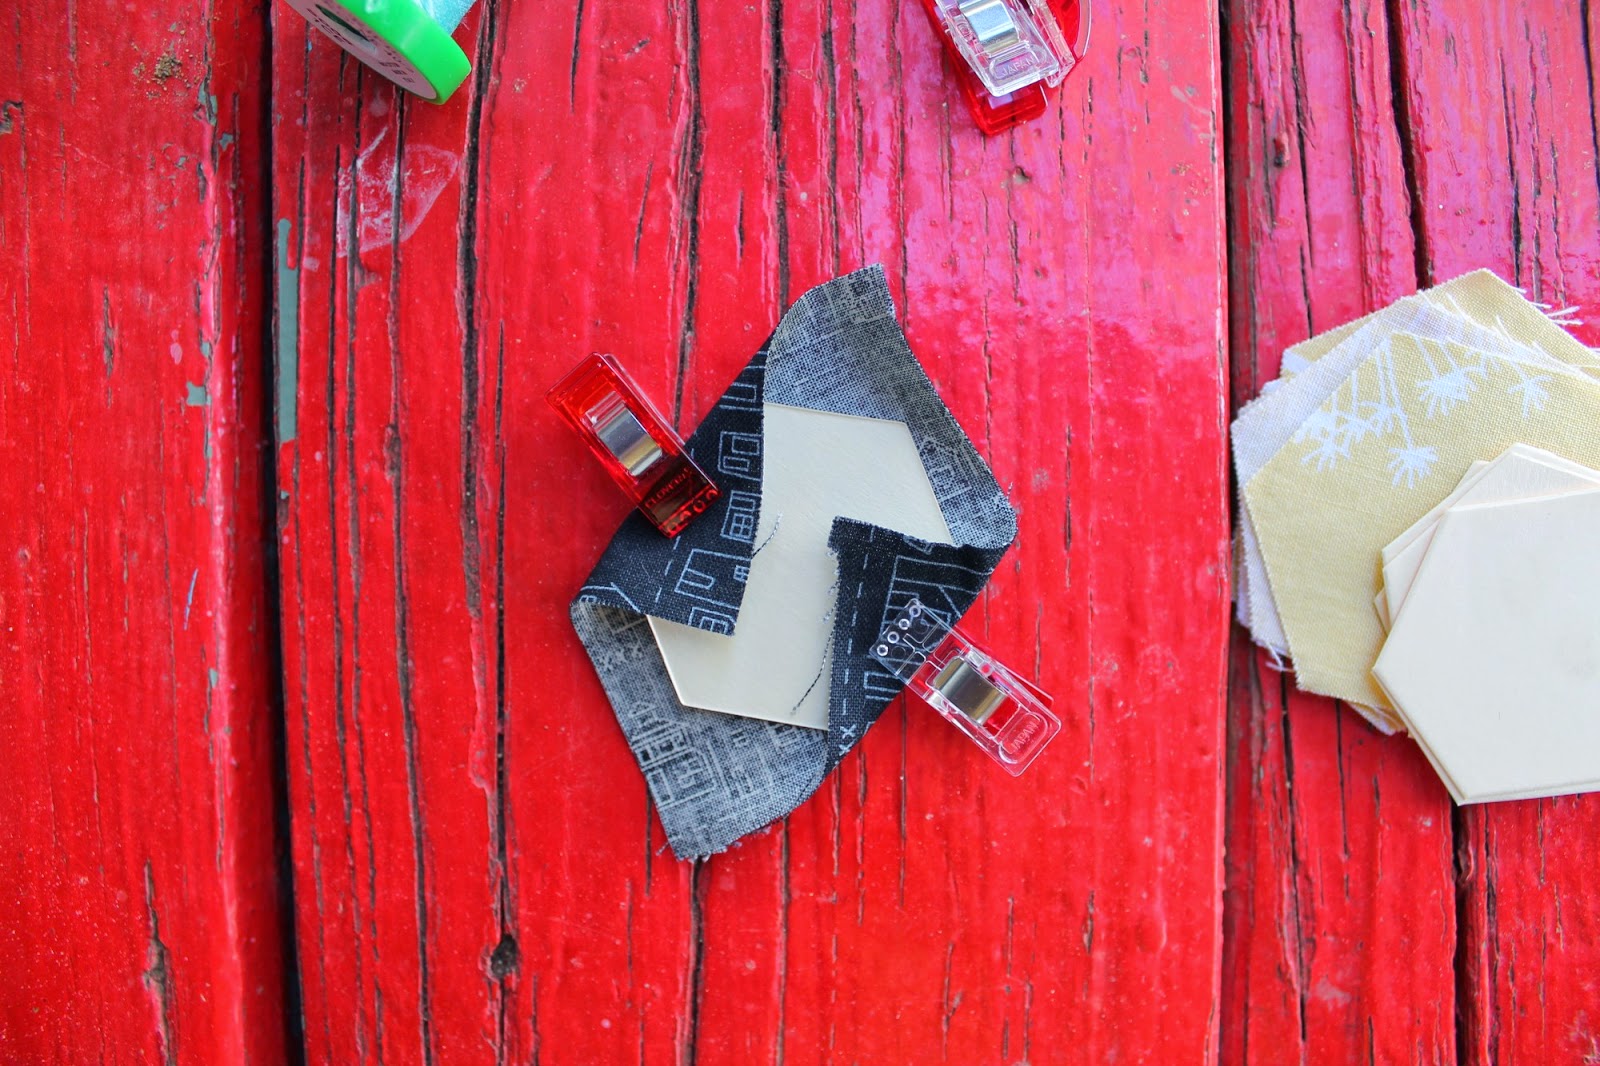
I clip two sides of the fabric down around the template. You can also use a paper clip, or dab a bit of glue stick on the other side in the middle of the paper to keep the hexie still.


Fold the edges of a corner between the two clips down and stitch a few stitches to hold in place.


Move around to the next corner, and stitch through the fold twice. Some people go through the cardboard here, BUT, if you just stitch through the fabric, you can take the papers out before posting, which will make it easier to fold into an envelope.


Follow the corners around the hexie, putting a couple of stitches in each fold, and then put an extra stitch in the final corner to hold the thread in place.


To stitch two hexies together, hold them right sides facing, and starting at one corner, stitch a couple of holding stitches, then whipstitch (keep entering the needle on one side, and pulling it out the other,) along the seam.


Grab your next petal, line it up with the next edge of the hexie and keep stitching until you've gone all the way around. 


Then stitch between each petal using a similar method. (you just won't be able to hold the hexies together flat if you're using cardboard.

Once you've stitched the flower together, you can pull the papers out ready to post.


If you'd like to make a flower or two for Rachel, I'd like flowers that use all the one colour. They can be scrappy, or the same print in the petals. I'd like a dark (preferably black, but grey or navy is fine) print or solid in the centre. If you prefer a different method, or have made yours already, that's completely fine!


Could you please make a flower for the Hauser family? I would just love to show Rachel how much we're all thinking of her and Eleni and their family, and how much we value her friendship, talent, and contribution to this quilty community.

Please ask me in the comments below for my address. I'd like to start making the quilt in one month - that gives a couple of weeks to stitch, and a couple of weeks to get here. Please share with your friends and followers, and tag photos with #flowersforeleni on Instagram. Thank you!

Jodi. xxx

PS. Some people are no-reply bloggers! Please leave your email in the comments if that's you, so I can reply. Thank you!

Monday, 2 March 2015

Red Sky at Night - Maple Leaf


This is a block with two stories. Tales that happened right along side each other. One of conflict and desperation, another of celebration and national identity.

In 1861, President Abraham Lincoln announced the Union Blockade against the South, bringing a halt to trade, and squeezing the rebellious states into submission. Supplies became severely limited and the South became steeped in poverty. Items like tea and coffee became a luxury, and the root of the Sassafras Tree (also the original base for root beer!) was boiled in water to make what became known as Dixie Tea. This block, named the Tea Leaf Block, was inspired by the three fingered leaves on the sassafras tree.

Meanwhile, in Canada, the maple leaf, long associated with national identity, started to be used in the coat of arms and on coins in the 1860s. Jacques Viger, the first mayor of Montreal described the maple as "the king of our forest; ... the symbol of the Canadian people." In 1867, "The Maple Leaf Forever" was written as a celebration of the Canadian Federation. In contrast to the Civil War in America, the song speaks of peace rather than discord, plenty rather than poverty.

Our fair Dominion now extends
From Cape Race to Nootka Sound;
May peace forever be our lot,
And plenteous store abound:
And may those ties of love be ours
Which discord cannot sever,
And flourish green o'er freedom's home
The Maple Leaf forever!

Two trees, so strong and beautiful, yet remembered for such different reasons. I find it interesting that one symbol can have such contrasting meanings, don't you?

MAPLE LEAF BLOCK TUTORIAL: *Edited* - apologies for the mistakes!

You will need:

Red: Four 4" x 1" rectangles, four 2.5" squares, four 2.5" x 4.5" rectangles and eight 3" squares cut in half to make half square triangles.

White: Four 2.5" squares, eight 3" squares cut in half to make half square triangles, and four 3" squares cut in half for the leaf stem.

In a block like this, made up of a few identical smaller blocks, I always make one first to check I've got it right. One maple should measure 6.5"

 1. Make the FOUR half square triangles into squares and trim to 2.5".


 2. Line up one of the leftover white triangles with the edge of the 1" rectangle and sew.


3. Press outward. Line up the other triangle and and sew on the opposite side.


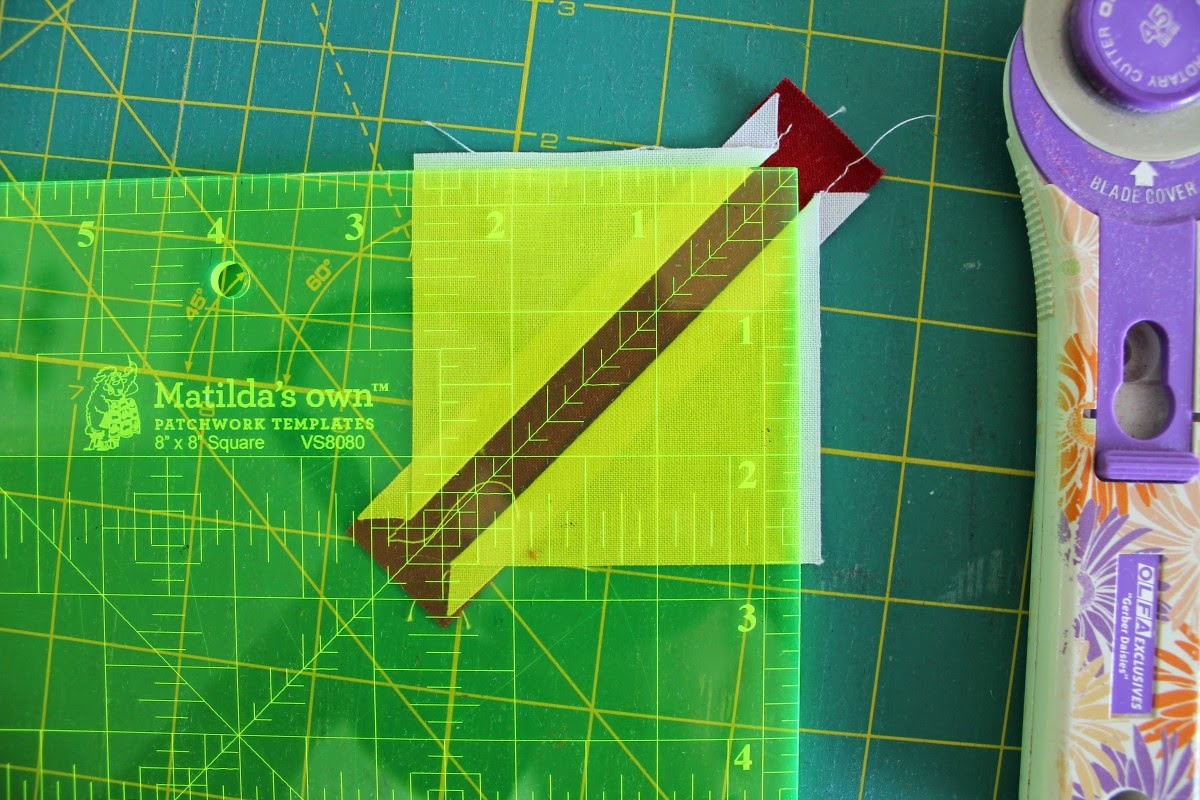
4. Line up your 45 degree line on your ruler through the middle of your stem. Tim to 2.5"


5. Lay out your block as below and sew together in rows. Press.


6. Admire your little leaf, say a little thank you for readily available coffee, and made the other three!


I love seeing all the photos coming up on the #redskyatnightQAL feed on Instagram! Thank you for sharing there! Also, look up the Red Sky at Night tab above to find any of the old tutorials.

I took this photo on my Apple tree chest. It felt like they should go together. Like baked apple and maple syrup. Hmmm...