Only NINETEEN days left of my year long {new} fabric fast! Am I counting down? Absolutely!
I saw recently that my friends from The Elven Garden and Making Rebecca Lynne are both embarking on their own fast next year and invited other people to join them. If you're considering fasting from buying fabric next year, I recommend joining them! I thought I'd write this post about tips and things I learned for those who are interested. Then, if you have any other questions, feel free to ask them below. I'll write another post in a few days with other answers if needed.


I started the year with a shop in the main street of Newcastle, selling my clothes and quilts. A family tragedy had us bring my shop home to rest. I went from 3 days a week, my sewing machine in my shop, pumping out pinafores to keep up with demand, to making what I felt like, (which was mostly quilts) as I had time with little kids in tow. I have no idea what my fabric stash would have looked like if I'd stayed in my shop, but considering how much I still have left, I imagine I would have been fine. I just would have had to tweak my making habits a little.

The first thing I did was sort my six pillowcases of scraps, mostly leftovers from my clothes making. I used a cube bookshelf my neighbours were throwing away, and 10 buckets that I got from Bunnings for about $3 each.
Then I set about making all the specific projects I bought fabric for! It was so rewarding getting those done! And the time I wasn't spending online or planning new projects seemed to free up a whole lot more time for ticking boxes. About half way into the year, I found the list was no longer interesting me, and I scrapped it to enjoy more designing and improvisation.

So what did I learn? What would I do differently? What am I thankful for?

Scraps go a long way.
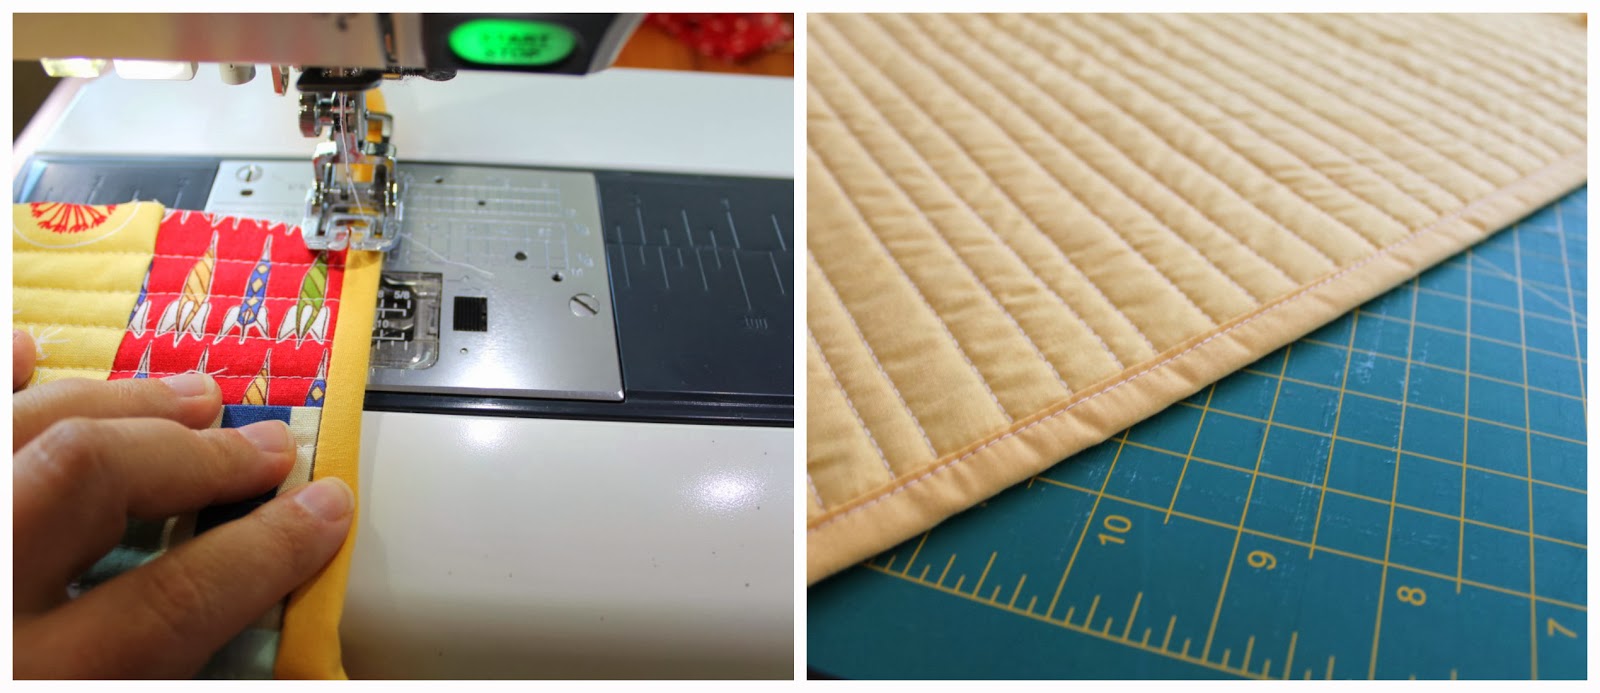
The quilt above was made entirely from my bucket of 'Too hard to sort' scraps. Scraps that were hard to use because of their big prints and many colours. It used about a quarter of that bucket. The quilt below was just from my light scraps. That bucket is still busting at the seams.
Yardage however does not. While my fabric shelves don't look like I've made anything this year, I've run out of significant yardage in order to make pinafores. If I'd still been set on making pinnies this year, I would have had to make scrappy ones.

I choose blue.
Or more accurately, aqua. Of all the colours I'm really struggling to make do, it's my unisex, basic, small print aqua. I use it all.the.time. Before I started my fast, I asked people what they thought I should buy. Everyone said white, grey, low volume. I wish I'd bought up on blue the same way I bought up on white. For some reason I've noticed that the blue based prints I bought had a lot of colourful, floral prints, making them beautiful for dresses, and not so helpful for quilts or binding. If you are considering a fabric fast next year, I'd recommend thinking about what your 'white' is. I rarely use white. I use blue.

Give yourself an out
When I was off on sick leave in March, my shop remained open (thanks to a very generous group of volunteer friends) for a month, with my stash there in town. I let myself buy a couple of jelly rolls to play with at home. I liked that the fabric choices were made for me, and the cutting done. I could just sit and sew. When I started my fast in my shop, I knew I might need a mid year restock. I didn't end up using it, but I did find that mid-year slump the hardest! Thankfully my birthday falls around then and my mum gave me a shopping voucher.
Sometimes an out isn't helpful, if you're not really motivated anyway, but sometimes it's just the thing to help you be brave enough to dive in.

Learn.
I think one of the most significant things I've learnt is that a lot of my ideas aren't necessarily to my taste. They're influenced by things I've seen in blogs and books. I'd start with an idea and a colour palette, but then as I was making, I didn't really like it. As I've moved into quilting from clothes making, it's taken about a year to discover that I love rich, clashy, bright. Actually, I always have, I came to quilting through Anna Maria Horner's work. But this year I felt the need to break away from her style to create my own. I thought that meant making things that were more subdued, more primary colours. After a year of trial and error, letting myself make things I don't love, I feel like I'm getting to know again what I do, and what makes me love to make. And I didn't need to spend any more on fabric to figure it out!


And the biggest stash-buster is...
You probably guessed it - backing and binding. The one thing I didn't think about much (because I was thinking about having enough for pinnies, and assumed I would just used scraps for quilts), was backing and binding. If I ever embark on this again, (I'm thinking every 7 years, like the Jews do Jubilee?) I'll be investing in some stripes, dots, basics in different colours for binding, and some great simple, big prints with lots of white for backing. That's my taste anyway. And that's only what I've discovered from having so little of it this year!

I had one friend ask what I recommend for being ready for Christmas next year. It was so forward thinking! And the reality is for me, I'm making less than I might usually (but trying to buy handmade). Scraps do take a lot more work, and wouldn't necessarily be loved by my 5 yr old nephew. I'm struggling with the right quilt back for one quilt, because it's not my style, it's my recipients. But as I started noticing all the sales turn up in my Facebook newsfeed after American Thanksgiving, I wondered if it would be much more doable for some, if you just went to Thanksgiving, or allowed yourself that 'out' - a little shopping spree just for gifts.
And on another note, the big sales here in Australia are always after Christmas and into January. So last year I held off my last big shop till then, only to notice my favourite US quilt shops were awfully quiet! It was probably a good thing - I was much more sensible that I might have been if influenced by sale frenzy!
I have blogged over the year about much more I've learned, from more of a 'spiritual' nature, about living simply. It has been a deep experience for me, not just a practical one. If you search "Fabric Fast" in my search bar, those posts will come up.

Anything Else?
Any other questions? I've found this whole experience to be less scary and risky than I imagined. I found it most difficult when I'd had a long day and just felt like sitting at my laptop with a cuppa and browsing through fabric. I have run out of things I loved, and I missed getting Hand Drawn Garden when it first came out. But I am terribly, terribly proud of myself. And I think now (remind me ok?!) I will be much better at buying what I need, and not for that ever growing 'to do one day' list!
Thank you so much to the dear friends I've gotten to know through here, that have shared the journey with me and cheared me on.
Jodi. xx