Wednesday, 26 September 2012
bright pillows
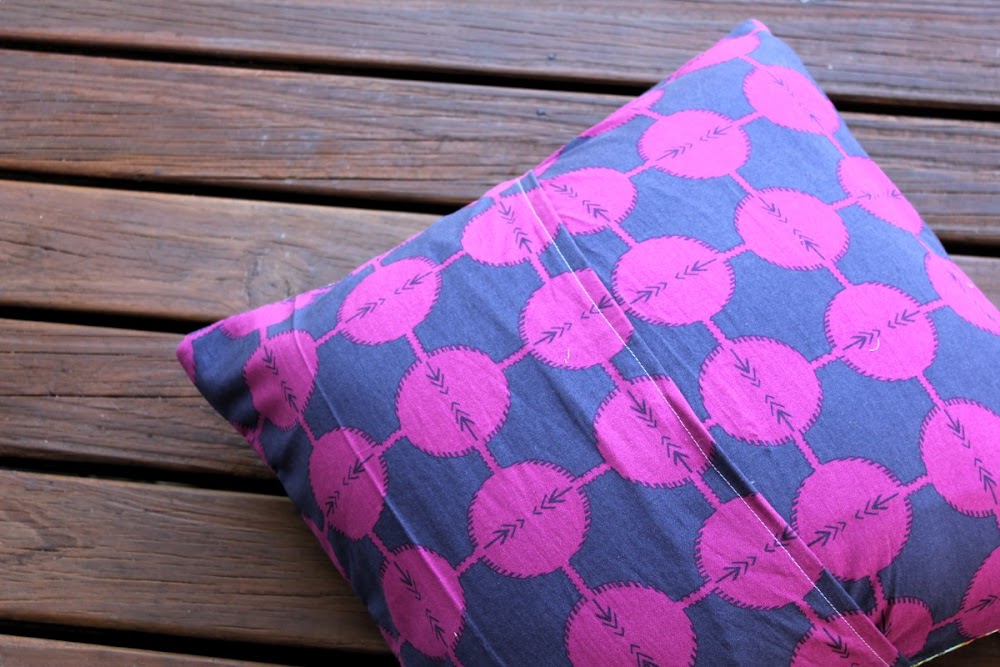
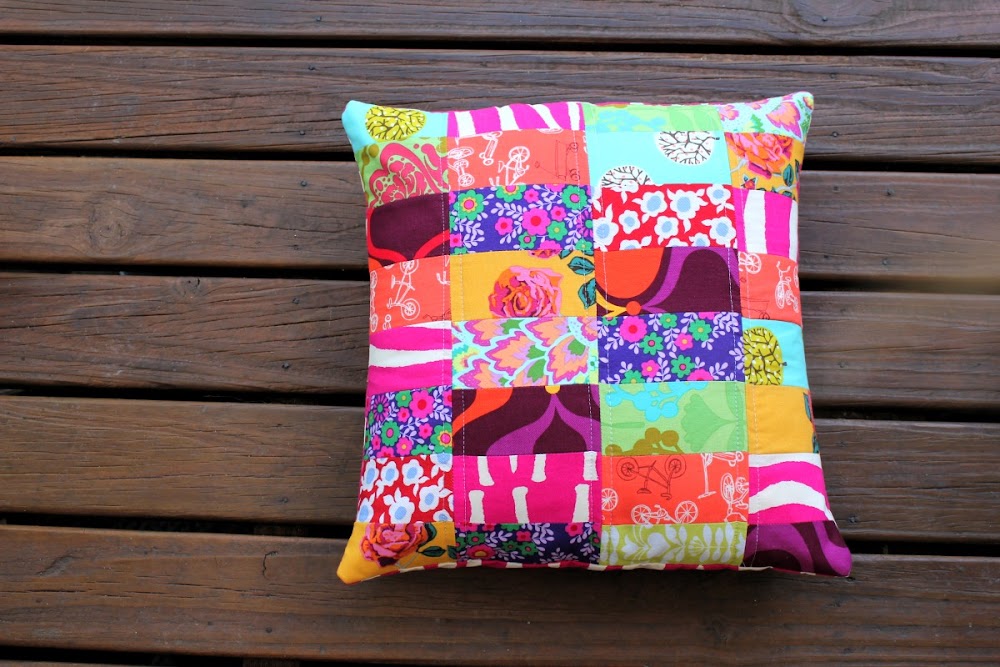
Two pillows for two dear friends.
We all lived together nearly 10 years ago, back in another life, in the middle of no-where and then we went our separate ways.
The pillow above is for a wedding gift. Tomorrow we all pile in the car to travel the 15 hours to celebrate a second marriage, the gift of a second chance.
The pillow below was for a birthday, for a beautiful friend who, having travelled all around the world, has decided to settle just around the corner.
I could get just a little addicted to making bright pillows for bright occasions!
Enjoy the rest of your week! I'll see you again next Thursday. Pray for travel blessings for us, and sleeping children! xx
Sunday, 23 September 2012
Seaside
I thought I'd branch out and take my Seaside quilt to the seaside for photos today, rather than my usual spot by my neighbours' newly painted grey house!
I'm really happy with how this quilt turned out. As I was making the pinwheels, I was really unsure if I'd made the right choice of design for these fabrics, but when Tim held it up for me, I just loved how only some of the pinwheels stood out, depending on the light, and where you were looking.
For the back, I used Yellow Bikini Floral, with a little extra colour, a pinwheel and a square of Main Day on the Beach, the adorable illustrated print in this line. I just love yellow to back a quilt!
Isn't our local beach beautiful? I just love this big round shallow pool. Did you know, under all that sand, there used to be a big map of the world? It was destroyed by a storm, or so Tim tells me. I wish I could have seen it!
This quilt is now available in my Etsy store.
Thursday, 20 September 2012
My Little Model
It's getting harder to use my little model for photo shoots. She knows what she wants now, and it's usually doing her own thing. She seems to have moved past the 'fun to please mum' stage into the 'fun to say no!' stage. But my new Out to Sea pinafore, while beautiful on the coat hanger, was calling to be modelled on a little girl, even (or maybe especially?) one who wouldn't stand still.
At least she really wanted to wear the dress!
 |
| "Mum, boat!" |
You might recognise by now, Sarah Jane's Out to Sea. It's just perfect for little clothing. I'm having so much fun putting a few simple prints together for a stunning result. Do you like the little pleat I've added? I do!
 |
| Hide and Seek. |
I think I'm slowly learning the art of letting a photo shoot happen, even if they involve some tackling on the driveway. It's important to keep the model happy. It's amazing what a song and a lens cap will achieve! Though, we did have the neighbour come outside to see what we were up to!
 |
| Hmmm... |

And then we cross our fingers that it wore her out enough for a big sewing-session-length nap!

Monday, 17 September 2012
Pirate Bag & Treasure Map
I was under strict instructions for this 'custom' order. He wanted his own bag. For when he did 'pirate things' (he's quite the urban pirate, wouldn't you agree?) like looking for treasure. He needed a space to put his sunglasses because "the sun is very bright on the ocean" and he needed a map. Oh, and NO FLAP, under any circumstances. He wanted it "straight across" for quick, easy access.
"And wrapped, Mum. I want it wrapped please."
So yesterday, during rest time, I set to work.
Thankfully, Sarah Jane's Out to Sea is just perfect for all of the above. If Field Study has become my renewer of inspiration for quilting, this is my motivator for more kids clothes and gifts.
I cut around a single map print from the line, added a ribbon for tying, and backed it with calico.
Then I made an 8x9" lined pocket (I left the wrong seam open for turning the right way out. In case you're following these as instructions, leave the top of the pocket open, turn the right way out and top stitch along the top of the pocket. Then add to the inside, or outside, panel.)
Then I cut a 3" strip, the width of the fabric from these adorable anchors and my stripey lining. (I'm using Racing Stripes from Children at Play) I sewed down each length, turned the right way out, and top-stitched each side.

Here's where I forgot to use my camera because I was half chasing Tully for a good size, half searching online for a good tutorial, and half just trying to guess as I went based on other bag patterns I've followed. I ended up deciding to use 13" squares for the bag body.
I sewed right sides of the bag fabric, then the lining, together. Then, folded each bottom corner seam flat together to create this triangle. I used the width of the strap to determine where to sew across to create my '3D' bag.
Then I placed the strap inside the lining, making sure the lining side of the strap was facing the bag, and slipped the outside bag into the lining, right sides together.

I sewed around the top, leaving a 2" gap to turn the right way out, pressed and top-stitched around the top of the bag, snipped the threads...

And Viola! One happy Pirate. :)
And FYI, I found this tutorial by mmmcrafts really helpful for getting my head around the bottom corners!
This tutorial is for personal use only, thank you!
Subscribe to:
Posts (Atom)


